The process of laying a historic floor is not a standard carpentry task. Indeed, it is an exercise in applied history.
Reclaimed Oak Flooring Installation: The Ultimate Guide
Contents
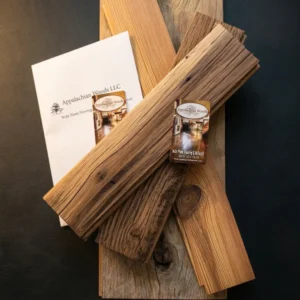
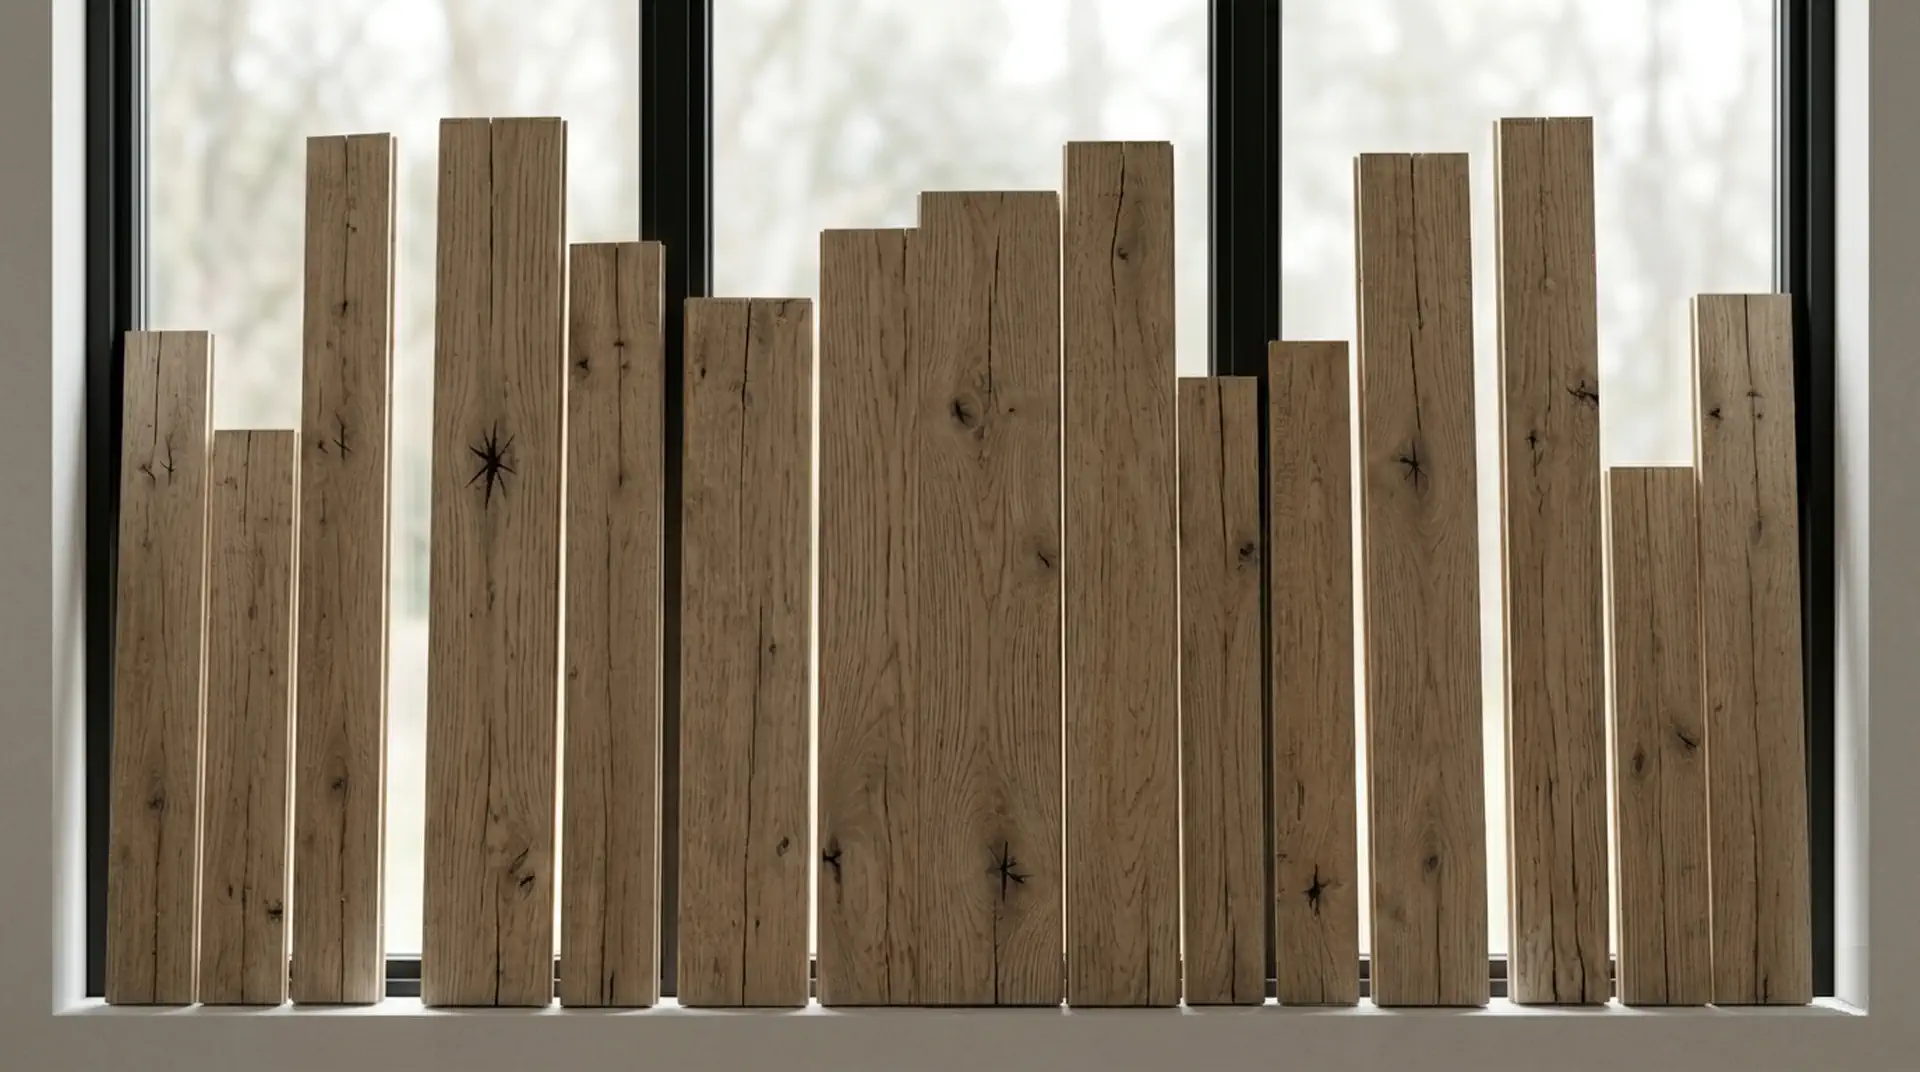
Curate Your Sample Box
Experience the tactile history of the Shenandoah Valley in your own studio.
Every luxury residential project eventually faces a moment of truth. It is the moment when an architect’s pristine vision collides with the physical reality of the job site. Specifically, a flawless reclaimed oak flooring installation demands more than just premium materials; it requires a symphony of communication. Designers, builders, and discerning homeowners must align perfectly to ensure the final surface reflects the intended historical narrative. When this alignment fails, the friction is palpable. However, when the collaborative triangle functions harmoniously, the result is an irreplaceable architectural artifact.
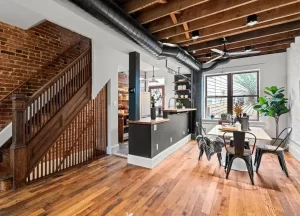
The luxury design landscape is currently experiencing a profound shift toward “Modern Heritage.” This design philosophy blends contemporary minimalism with the warmth, history, and craft of traditional materials. Consequently, materials with documented provenance have become highly sought after. But specifying a centuries-old material for a modern, climate-controlled environment introduces unique challenges. Navigating these challenges separates exceptional custom builds from merely adequate ones.
The Art of Reclaimed Oak Flooring Installation
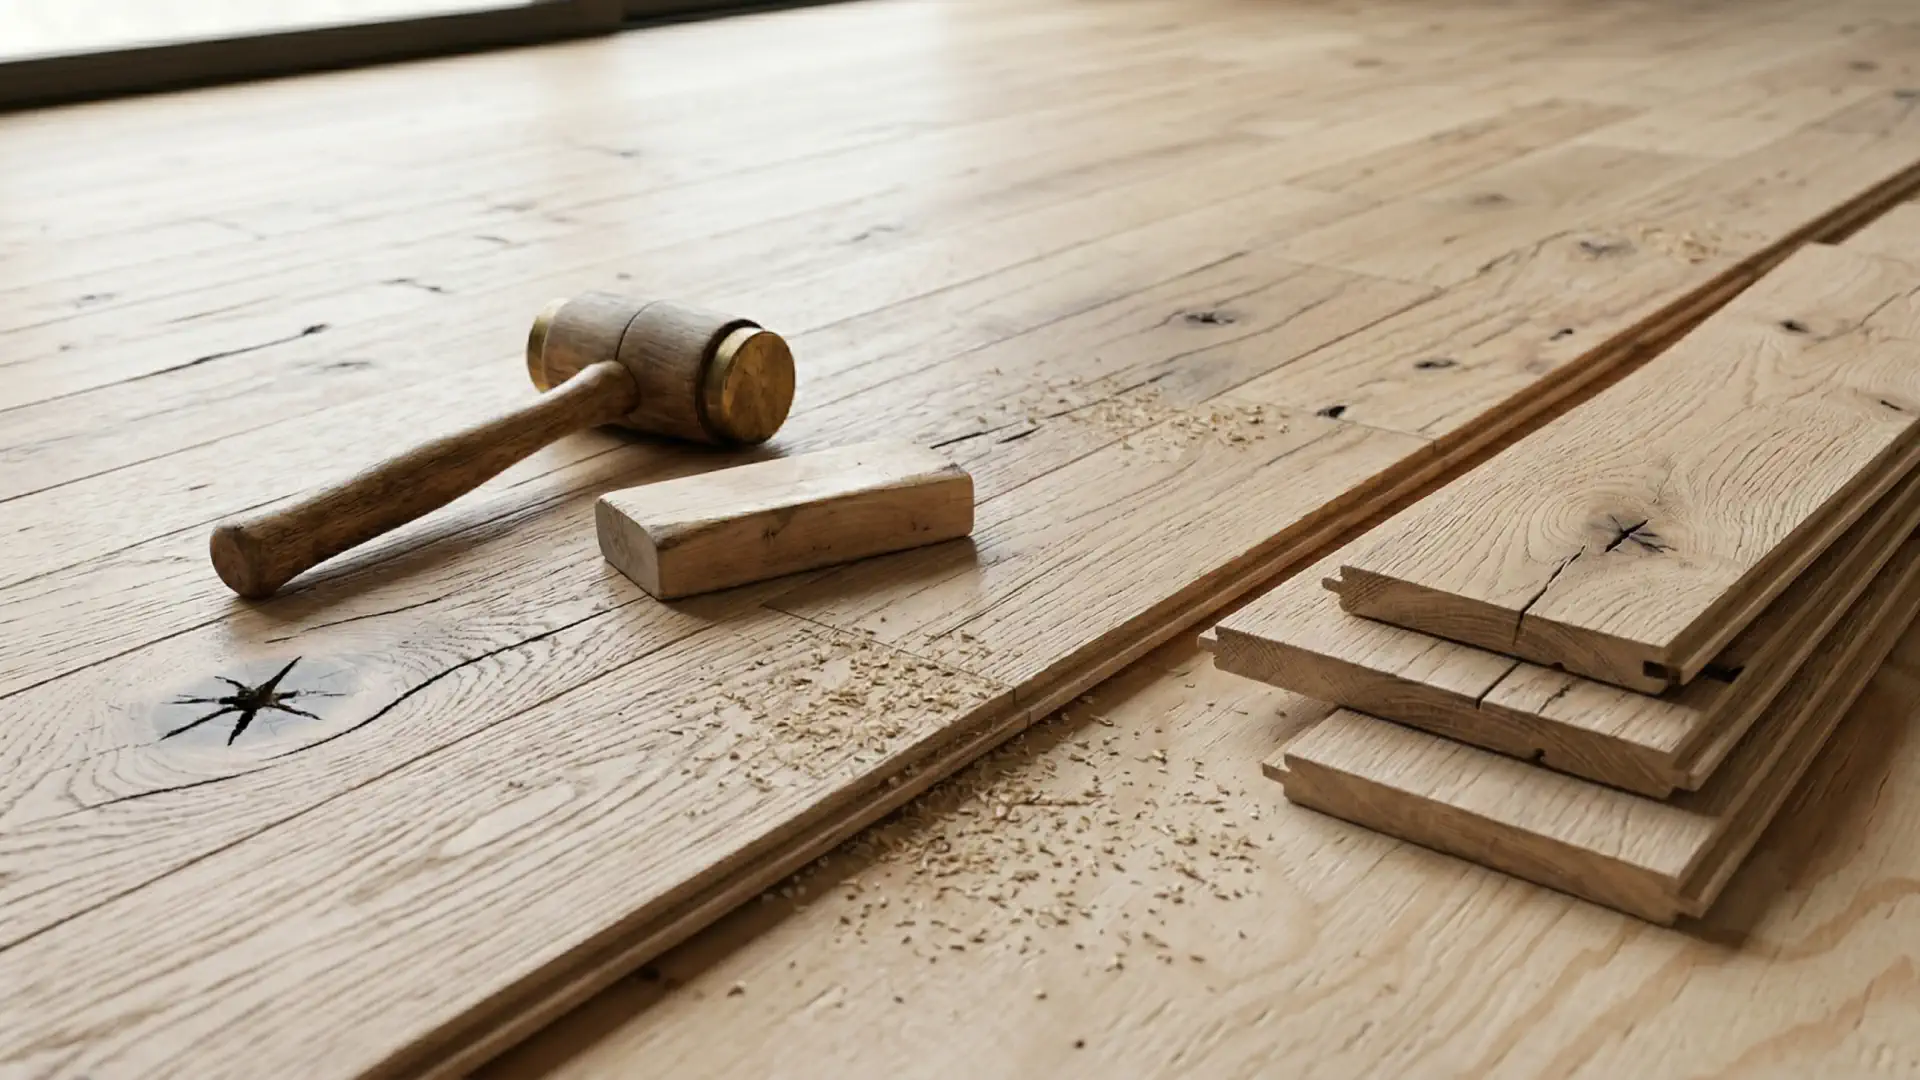
The process of laying a historic floor is not a standard carpentry task. Indeed, it is an exercise in applied history. The material carries the scars of its past life—saw kerfs, nail holes, and deep weathering. Preserving these characteristics while delivering a high-performance, barefoot-friendly surface requires specialized knowledge.
Furthermore, the installation process begins long before the first board is nailed down. It starts in the sourcing phase and relies heavily on the quality of the millwork. A successful installation is predicated on the understanding that reclaimed wood is a dynamic, living material.
The Tension Between Vision and Reality
Designers often fall in love with the rugged, untouched look of antique lumber. They envision a space where the floor serves as a grounding, organic element. Homeowners, meanwhile, desire the romance of the material but expect the comfort and stability of a modern luxury home. Builders are tasked with bridging this gap.
Consequently, custom home builders prioritize installation logic, structural compatibility, and material durability. They know that a board that looks beautiful on a mood board can be a nightmare to install if it is warped, improperly dried, or inconsistently milled. The tension between the aesthetic vision and the pragmatic installation reality must be actively managed.
The Collaborative Triangle
To mitigate this tension, proactive communication is essential. The architect, the builder, and the homeowner must establish a shared vocabulary. What does “rustic” actually mean to the client? How much variation in color and texture is acceptable?
By establishing these parameters early, the team avoids costly misunderstandings on the job site. Furthermore, selecting a material supplier who understands these dynamics and provides properly processed lumber is the most critical decision the team will make.
HERITAGE NOTE
A plank that looks beautiful on a mood board can be a nightmare to install if it is warped, improperly dried, or inconsistently milled.
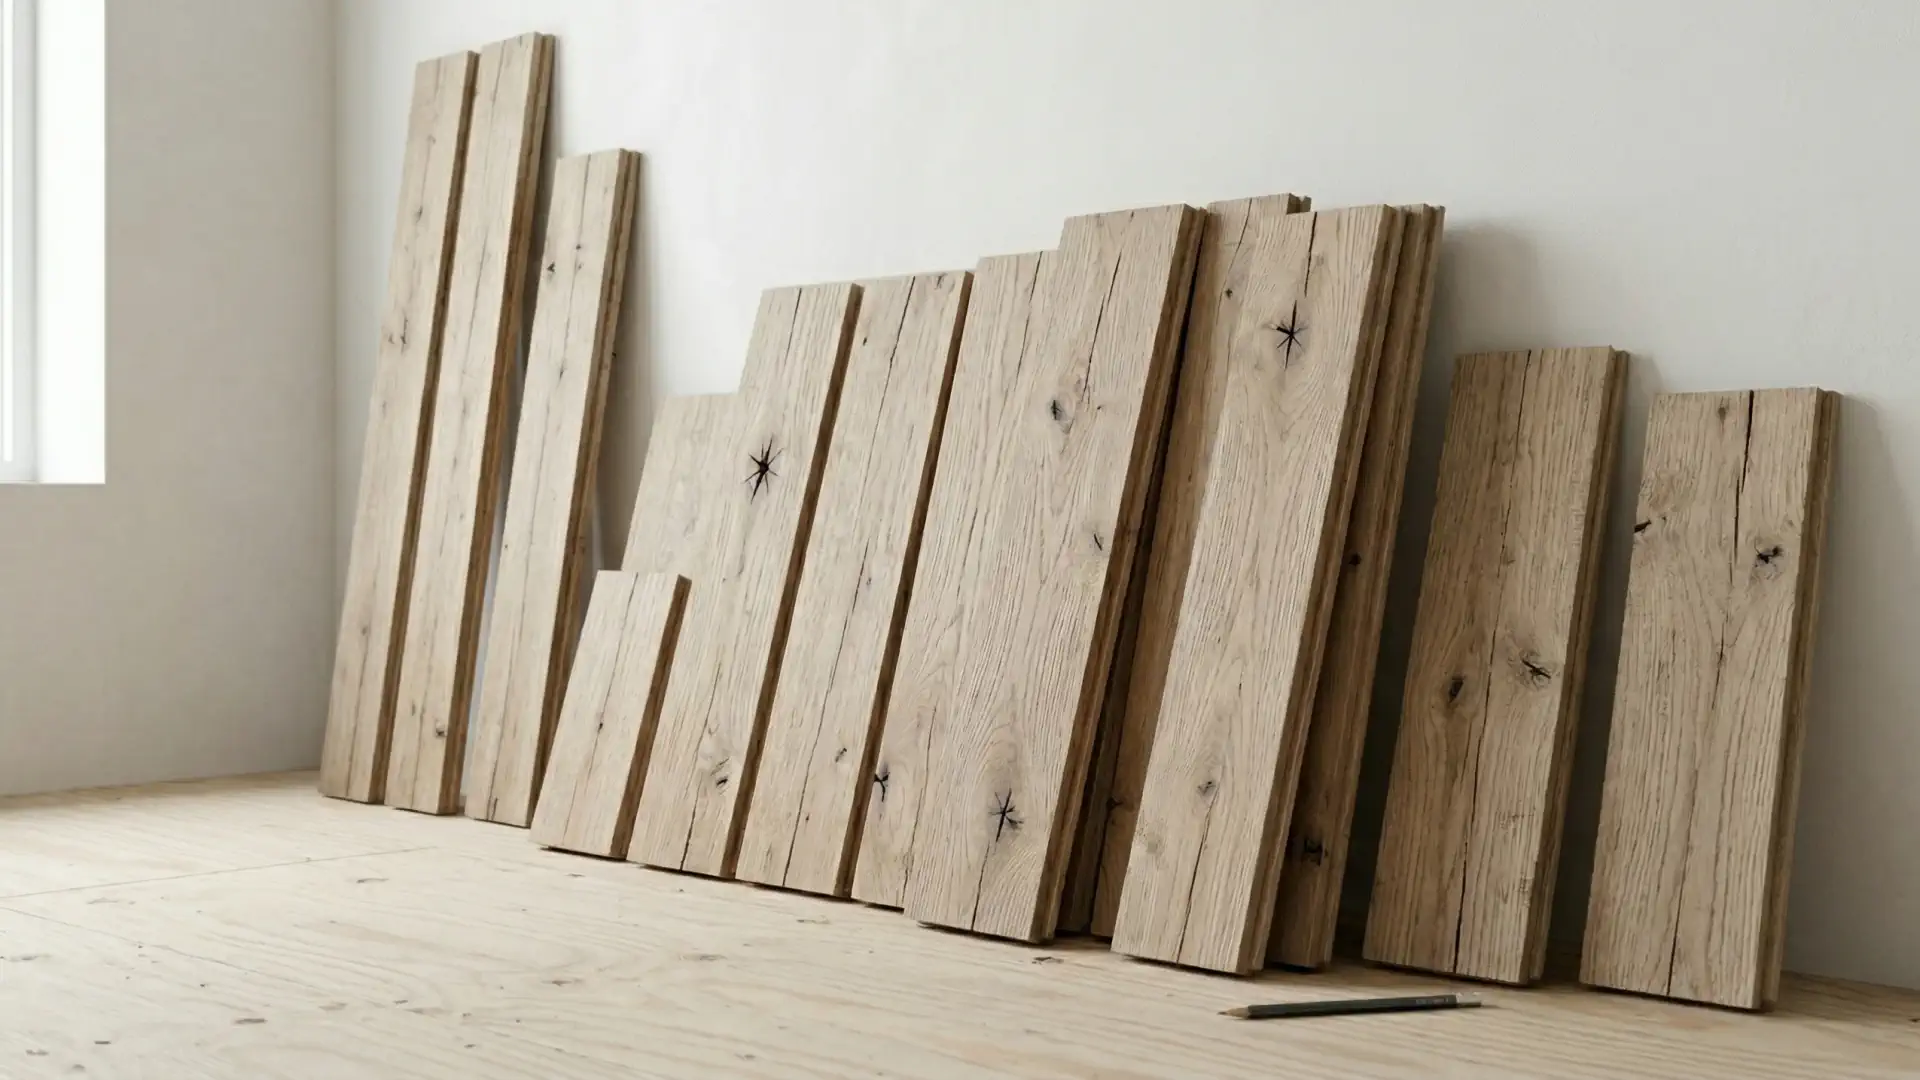
Sourcing the Best: The Foundation of a Flawless Floor
The reclaimed wood market is notoriously varied. It ranges from highly refined, luxury-grade materials to raw salvage pulled straight from a demolition site. For high-end residential and boutique hospitality projects, the source of the material dictates the success of the installation.
The Dangers of Raw Salvage
It is tempting to source raw, salvaged wood for its authentic appeal. However, experienced builders actively avoid this approach. Raw salvage often contains hidden metal, lead paint, and active wood-boring insects. Moreover, the lack of proper milling results in a staggering waste factor—sometimes exceeding 20%.
Furthermore, boards that have not been end-matched or surfaced properly require an immense amount of labor to install. The installer is forced to act as the mill, cutting and planing boards on-site. This significantly inflates labor costs and extends lead times, frustrating both the builder and the homeowner.
Why Precision Milling Matters
Conversely, sourcing from a reputable producer changes the entire trajectory of the project. Premium suppliers defect and grade the material rigorously. They remove compromised sections while preserving the desirable character.
Specifically, precision milling ensures that the boards fit together tightly and lay flat on the subfloor. This reduces the waste factor to a standard 5–7%. When builders receive material that is ready to install, they can focus their expertise on the aesthetic layout and final finish, rather than fighting the wood. For instance, Appalachian Woods’ wide-plank antique beam sawn oak is renowned for its reliable milling, marrying historical character with modern installation tolerances.
Kiln-Drying as a Non-Negotiable
Perhaps the most critical step in the processing of reclaimed lumber is proper kiln-drying. Material that has spent a century exposed to the elements must be stabilized.
Reputable mills slowly bring the moisture content down to the industry standard of 6–9%. This process not only eradicates pests but also minimizes the wood’s natural tendency to shrink, swell, or cup once installed in a climate-controlled home. Skipping this step is a recipe for permanent gapping and structural failure.
Bridging the Gap: Communication is Everything
As noted by industry veterans in Wood Floor Business, the key to a successful reclaimed project is managing client expectations. The homeowner must understand exactly what they are purchasing.
Articulating the Aesthetic Vision
Clients often use broad terms like “character” or “patina.” It is the designer’s job to quantify these terms. Does the client want open knot holes, or should they be filled? Do they prefer the original, rough-sawn texture, or a slightly smoother, wire-brushed finish?
Providing physical samples and viewing large-scale installations helps align the client’s expectations with reality. Indeed, the tactile experience of the wood is just as important as its visual appeal.
Translating Design into Execution
Once the aesthetic is defined, the builder must translate that vision into a technical execution plan. This requires a deep understanding of the material’s properties and the specific environmental conditions of the home.
For example, if the home utilizes radiant floor heating, the builder must select a wood species and plank width that can withstand the constant temperature fluctuations without excessive movement. Open communication with the material supplier ensures the correct product is specified for the specific application.
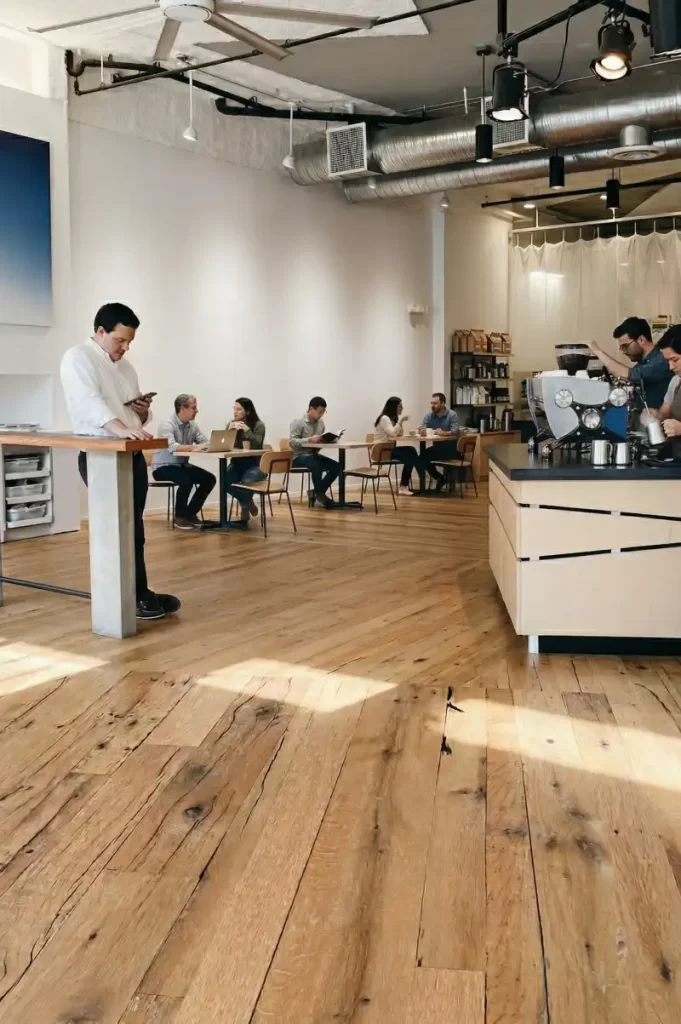
Racking the Floor: Designing with Character
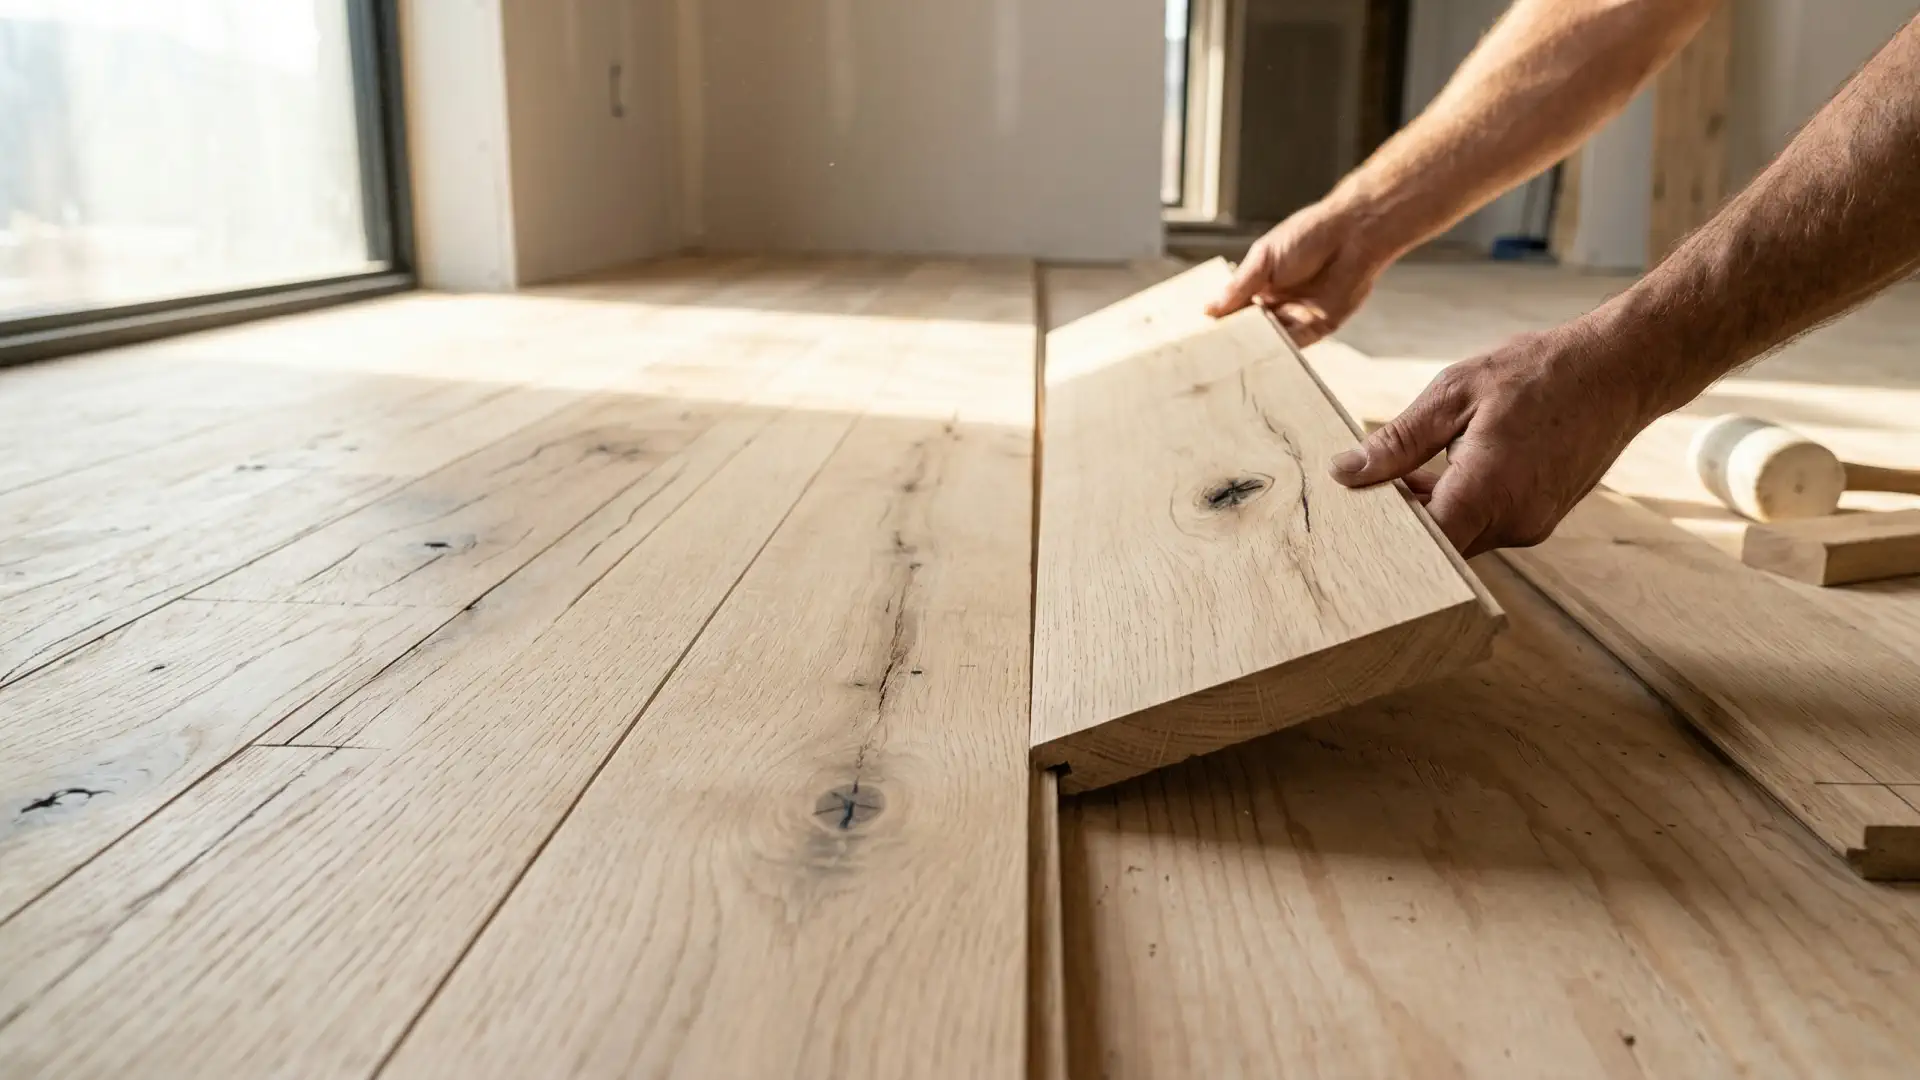
The actual installation of a reclaimed floor is an artistic endeavor. It requires a discerning eye and a strategic approach. This process is commonly referred to in the trade as “racking” the floor.
The Art of Strategic Placement
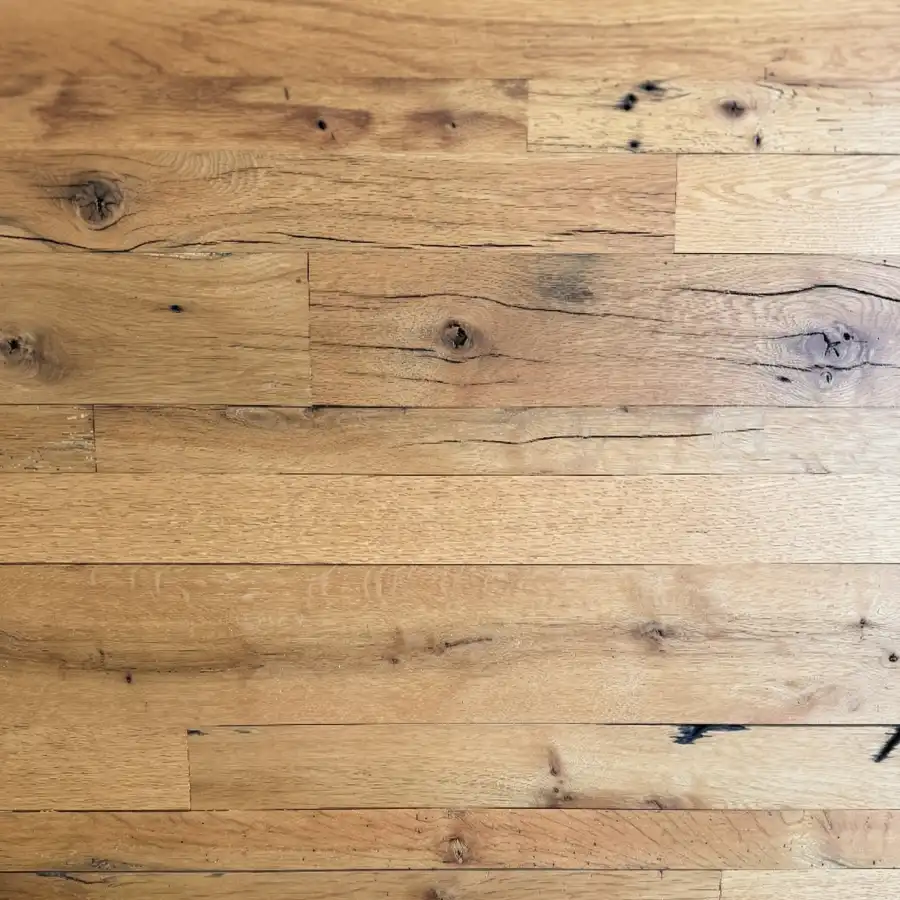
A skilled installer does not simply nail down boards as they come out of the bundle. Instead, they plan the entire layout before driving a single fastener. This allows them to distribute the wood’s inherent character evenly across the room.
As experts in the field note, it is vital to reserve the boards with the most dramatic, striking character for highly visible areas—such as the center of a great room or an entryway. Conversely, boards with quieter grain patterns can be placed in closets, under cabinetry, or along the periphery. This strategic placement ensures the floor tells a cohesive visual story.
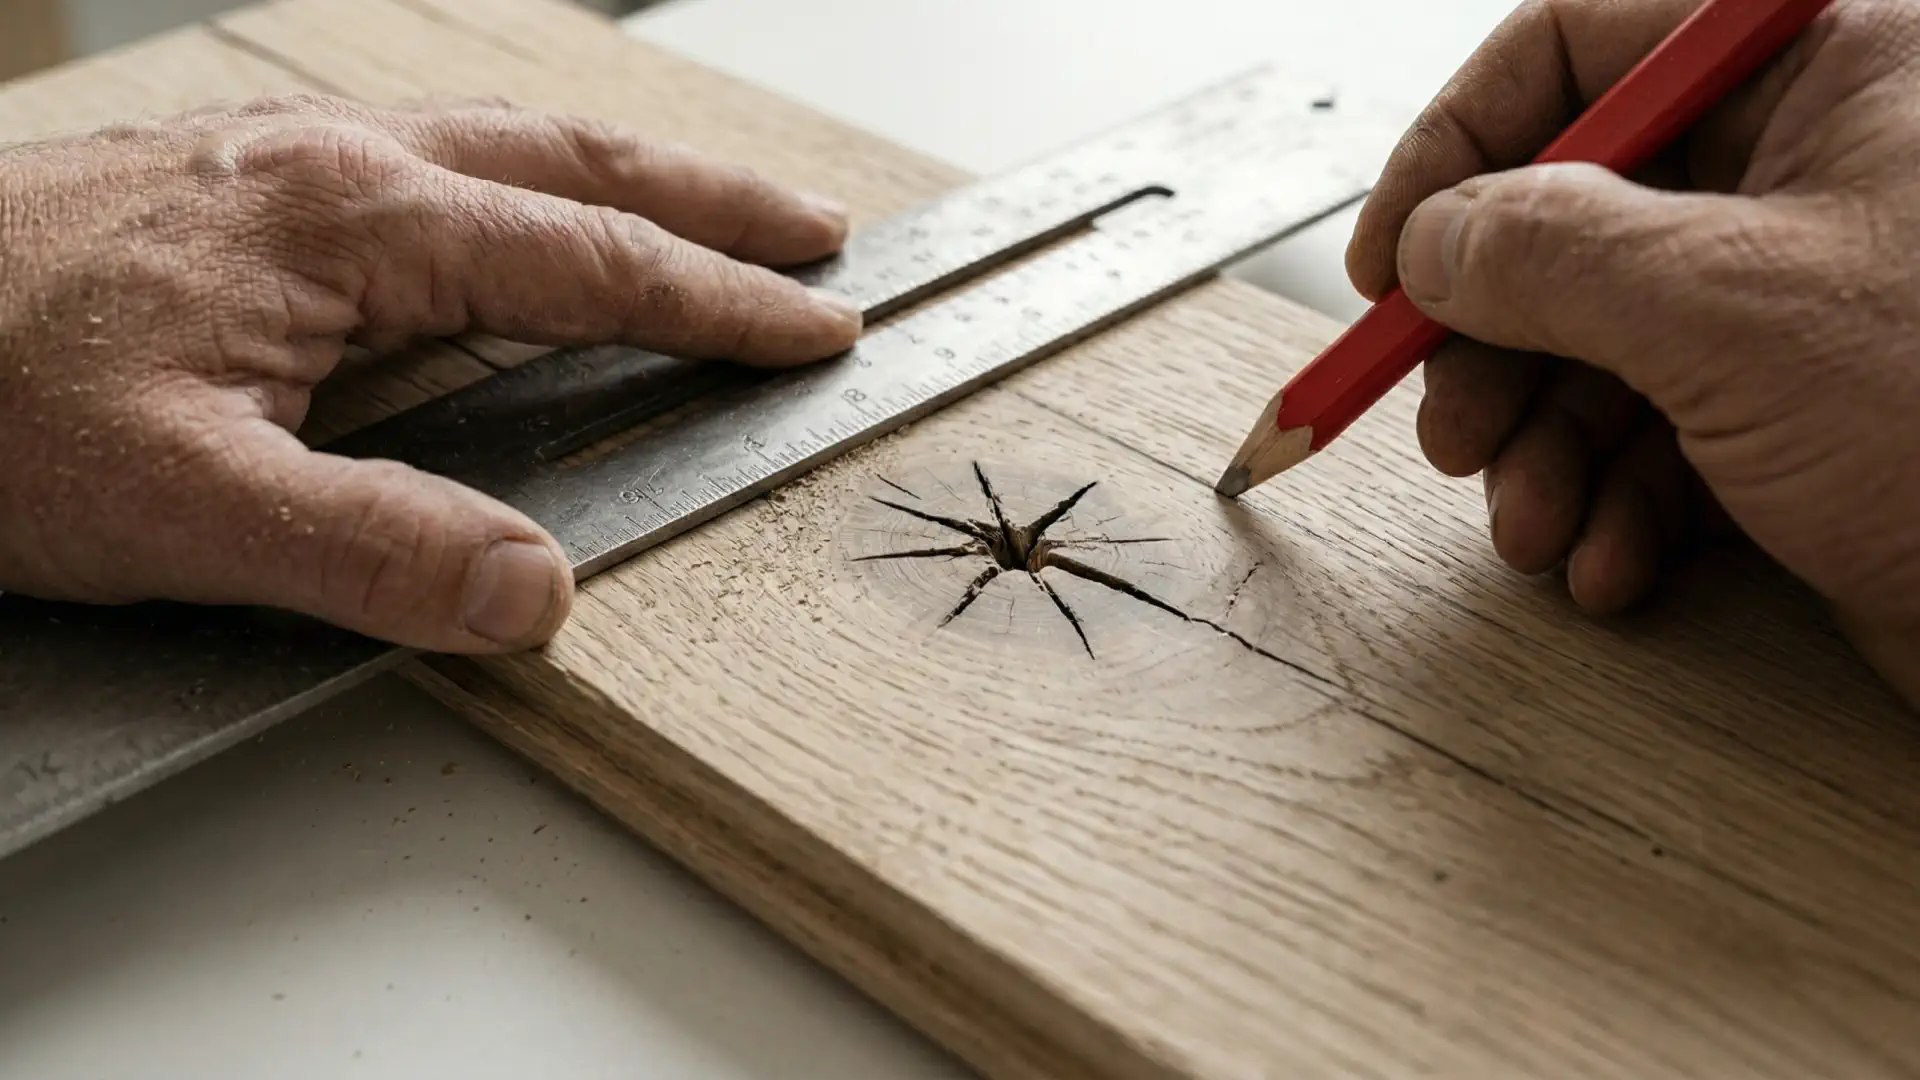
Navigating Architectural Imperfections
Historic homes, and even newly built custom estates, rarely have perfectly square walls. Therefore, careful measuring and alignment are required.
A meticulous installer will establish a primary control line to ensure the planks run true down the longest sightline of the home. Consequently, this prevents awkward rip cuts at the edges of the room that would otherwise draw the eye away from the wood’s natural beauty. The goal is to make the installation look effortless and organic.
HERITAGE NOTE
A skilled installer does not simply nail down boards as they come out of the bundle. Instead, they plan the entire layout before driving a single fastener.
Technical Truths of Reclaimed Oak Flooring Installation
Beyond the aesthetic layout, the longevity of the floor relies heavily on rigorous technical preparation. Aesthetic language should serve functional arguments, not replace them.
Subfloor Preparation and Perfection
Because reclaimed wood surfaces are often left slightly uneven to preserve patina, the subfloor beneath them must be absolutely flawless. Skimping on subfloor preparation leads to creaking, sinking, and ultimately, a compromised installation.
High-quality, moisture-resistant plywood or oriented strand board (OSB) panels are highly recommended. Furthermore, seams between panels must be sanded perfectly flat. Any debris, nail heads, or adhesive bumps left on the subfloor will telegraph through the reclaimed planks, disrupting the finish.
Moisture Management and Acclimation
Wood breathes. It constantly absorbs and releases moisture in response to its environment. Therefore, failing to acclimatize the wood prior to installation is a critical error.
The material must be allowed to sit in the climate-controlled installation environment for one to two weeks. During this time, the installer must use a moisture meter to ensure the moisture content of the planks matches the moisture content of the subfloor. A differential of more than 2% to 4% can lead to severe cupping or the crushing of swollen boards, known as compression set.
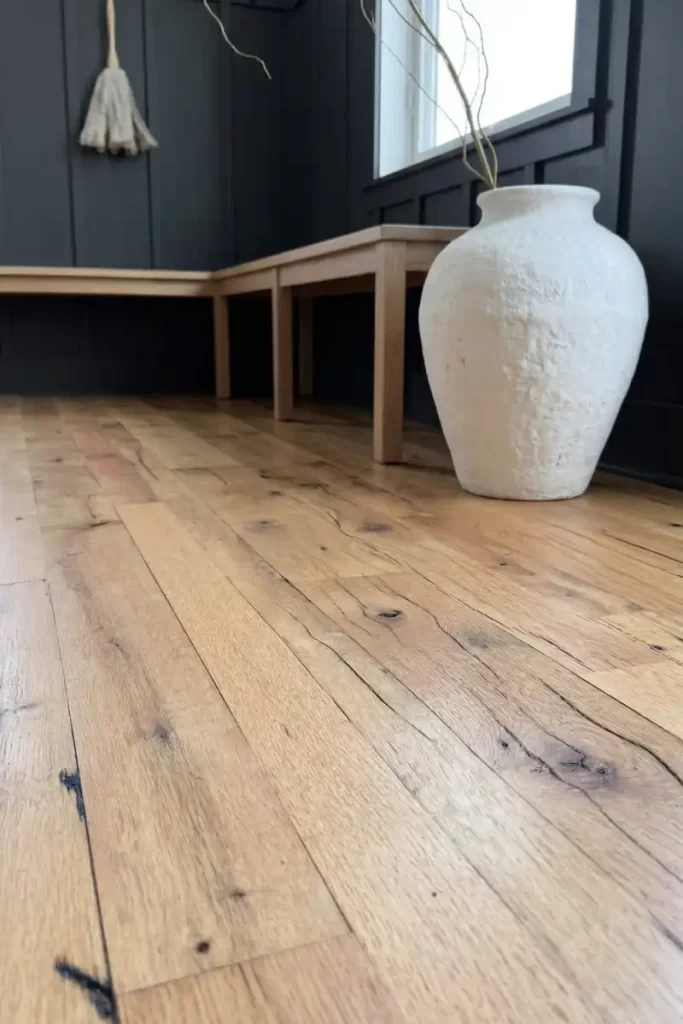
The Finishing Touch: Sanding, Sealing, and Patina
The finishing process is the climax of the project. It dictates the final tactile and visual experience of the floor. This is also the stage where overzealous work can destroy the very character the client paid a premium to acquire.
The Great Sanding Debate
Sanding reclaimed material requires restraint. As seasoned professionals often warn, installers frequently overthink this step. Heavy, aggressive sanding with a drum sander will strip away decades of historic patina, leaving the wood looking like standard, new-growth lumber.
Instead, the goal is to clean the wood while preserving the original saw kerfs and aging. Using a square orbital buffer with a mild grit (such as 36-grit or 60-grit) removes job-site dirt and rough splinters while leaving the historical texture intact. Circular buffers should be avoided entirely, as they tend to grab loose fibers and create new, unnatural damage across the grain.
To Fill or Not to Fill
Reclaimed wood inherently features nail holes, checking, and voids. While clients love this rustic narrative, they rarely want a floor that traps dirt and debris. Installers must have a clear conversation with the homeowner regarding void filling.
A common luxury technique involves filling deep knots and larger nail holes with black or dark brown epoxy. This stabilizes the void and creates a smooth, cleanable surface while mimicking the look of a natural shadow or historical iron stain. Open communication ensures the client is thrilled with the balance between authenticity and livability.
Selecting the Right Sealant
The choice of sealant dramatically alters the wood’s appearance. High-gloss polyurethane finishes tend to plasticize the wood, burying its organic texture under a synthetic sheen.
Increasingly, designers look to independent design resources like Remodelista to specify ultra-matte, water-based finishes or penetrating hard-wax oils. These advanced sealants protect the wood from moisture and daily wear while maintaining a raw, natural look. By using an invisible, matte finish, the historic texture of the material remains the undisputed star of the room.
HERITAGE NOTE
Using an invisible, matte finish ensures the historic texture of the material remains the undisputed star of the room.
The Appalachian Woods Standard: Antique Beam Sawn Oak
When architects and custom builders seek a material that marries profound historical character with predictable, modern installation metrics, they turn to specialized producers.
A Legacy of Craftsmanship
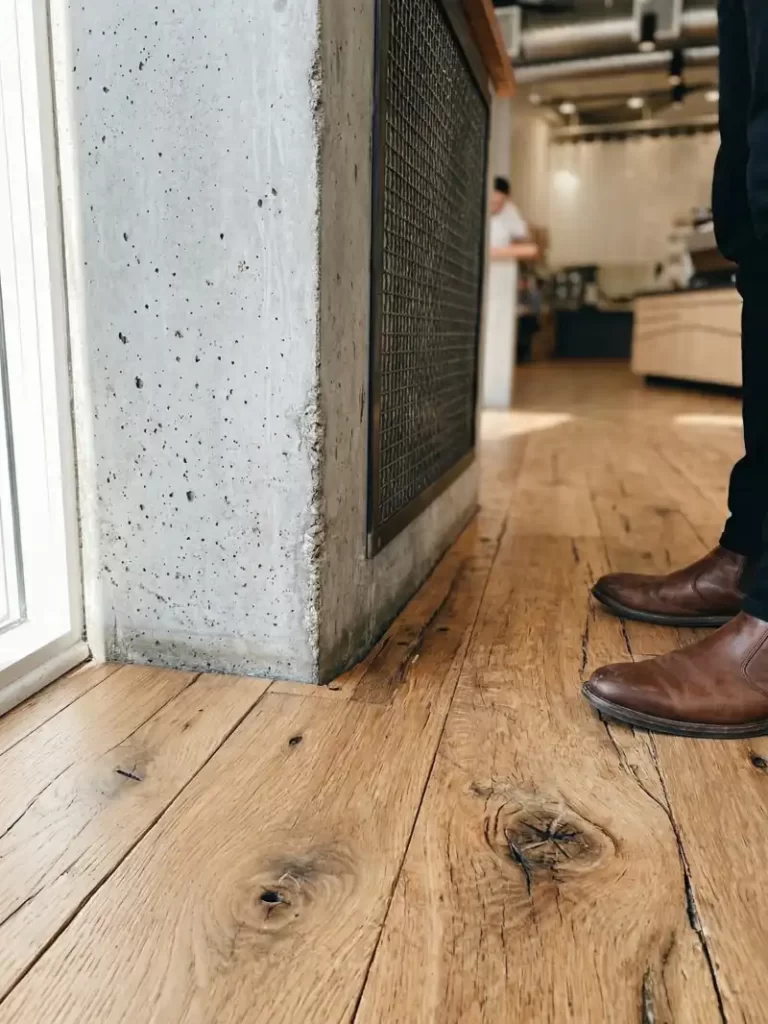
The creation of an antique beam sawn oak floor is a labor of love. Massive, structural timbers salvaged from century-old agricultural and industrial buildings are carefully dismantled, de-nailed, and precision-sawn into wide planks. This process reveals the internal beauty of the wood—tight growth rings, deep color variations, and a density that simply cannot be found in modern timber.
Because this material is rigorously graded and kiln-dried, it arrives at the job site ready to perform. Builders appreciate the reliable milling, which allows them to execute complex racking patterns without fighting warped or inconsistent boards.
Sustainability Meets Luxury
Beyond its aesthetic superiority, specifying this caliber of material aligns perfectly with the growing demand for sustainable luxury. By repurposing historic timbers, designers prevent valuable resources from entering landfills.
Ultimately, choosing a premium reclaimed oak is an investment in provenance. It grounds a new build in history, providing a tactile connection to the past while meeting the exacting standards of contemporary, high-end design.
FAQs: Expert Answers for Your Next Project
What waste factor should I calculate for reclaimed wood flooring? While raw, un-milled salvage can carry waste factors exceeding 50%, precision-milled and properly defected material from a reputable supplier drops that number to a standard 5% to 7%—identical to new flooring. We engineer our planks to be 100% usable upon arrival. However, ordering a 10% overage provides your installer with enough aesthetic flexibility to fine-tune the final visual layout of the room.
Is reclaimed oak flooring compatible with radiant heat? Absolutely. Solid plank reclaimed oak performs beautifully over radiant heat, provided the wood has been rigorously kiln-dried and acclimatized to the specific environment. Success ultimately relies on immaculate job-site conditions and controlled humidity fluctuations. We always recommend consulting closely with your custom builder to make the final judgment call based on your home’s exact heating framework.
How do we preserve the original saw marks during installation? Preserving historical patina requires restraint. Installers must avoid aggressive drum sanding, which strips away decades of character. Instead, a light pass with a square orbital buffer using a mild grit will clean the surface dirt and remove loose splinters, leaving the original saw kerfs and patina perfectly intact.
Is a reclaimed wood floor safe to walk on barefoot? Holding a raw sample of reclaimed oak often sparks a very practical question: will this give me splinters? The answer is a resounding no, provided the floor is professionally finished. Installers do not leave the wood flooring in its raw state. Instead, they may use a square orbital buffer with a mild grit to gently knock down any sharp fibers or loose snags. This strategic buffing makes the surface completely barefoot-friendly while deliberately leaving the historic saw kerfs and deep texture intact. Once the final protective sealer is applied, you get to enjoy the rich, tactile history of the wood safely underfoot.
Should we fill the nail holes and cracks? This remains a highly personal aesthetic choice. Filling deep knots and nail holes with dark epoxy preserves the visual weight of the void while creating a smooth, hygienic surface that refuses to trap debris. In practice, many of our clients choose to fill the larger voids while leaving smaller, natural checks and nail holes open for authenticity. Ultimately, this is a collaborative, job-site decision that demands thoughtful dialogue between you and your flooring finisher.
What is the best finish for a natural, rustic look? To protect the wood’s organic texture, steer clear of high-gloss polyurethanes that tend to plasticize the surface. The industry standard for luxury reclaimed floors has shifted toward ultra-matte, water-based sealers or penetrating hard-wax oils. These advanced finishes offer robust protection while allowing the wood to look—and feel—as raw and natural as the day it was milled.
Can I install reclaimed oak flooring as a DIY homeowner? While dedicated homeowners have successfully installed our materials over the past 25 years, we strongly advocate for professional execution. A reclaimed wood floor represents a significant investment in your home’s architectural legacy. Entrusting the installation and finishing to seasoned wood flooring professionals ensures the material performs flawlessly and achieves the breathtaking aesthetic you expect. Here’s a link to the National Wood Flooring Association Installation Guidelines.
Conclusion: A Legacy Beneath Your Feet
A truly magnificent reclaimed floor is never an accident. It is the deliberate culmination of expert sourcing, meticulous technical preparation, and an unwavering respect for the material’s history. By embracing open communication and understanding the nuances of the installation process, architects, builders, and homeowners can transform a demanding project into a masterpiece. Ultimately, when you choose to walk on centuries-old oak, you are not just installing a floor; you are laying down a legacy that will ground the home in warmth and authenticity for generations to come.